
The post How to Not Get Lost in Sekiro appeared first on Fextralife.

As Sekiro Shadows Die Twice has more of an open-world structure than previous FromSoftware titles such as Dark Souls, players might need a guide to get them through the shinobi action game.
How to Not Get Lost in Sekiro
In this guide we’ll take a look at a recommended overview route for Sekiro players to take on, to help them navigate with ease. Each area comes with its own set of enemies, mini-bosses as well as challenging bosses to face. We will provide you with an optimum route so you can glide through the game as the fast paced shinobi you are! There are additonal useful items to be picked up in each area so if you want a more in-depth look into each area, check out the Game Progress Route.
Players should note there are multiple endings to witness, which means if you’re trying to view a particular ending you should plan your playthrough accordingly, see our ending section of our Sekiro wiki for more details. The New Game+ mode also allows for further playthroughs.
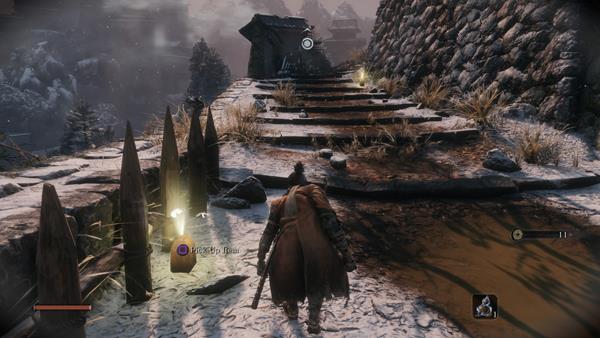
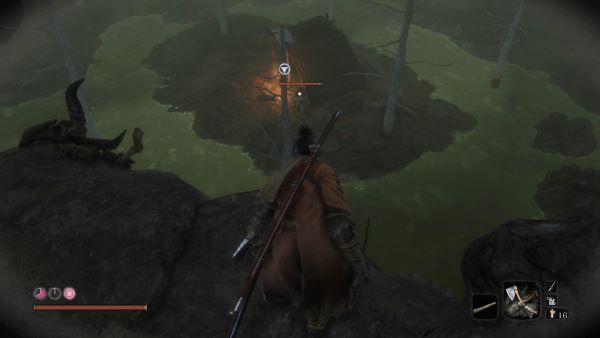
Ashina Reservoir
Players will start of the game at the Ashina Reservoir, this acts as a prologue and tutorial area for players to get use to basic game controls. Following your acclimation to game controls, stealth your way to Moon-view tower to gain key items that you shouldn’t miss out on which include Kusabimaru and Healing Gourd. Don’t forget to heal yourself before setting off as you’ll encounter the first mini-boss of the game, Genichiro Ashina.
For more details about this area and for a walkthrough check out the Ashina Reservoir wiki page.

Dilapidated Temple
The Dilapidated temple is a part of a larger area, the Ashina Outskirts. After entering this area, Sekiro will gain the Shinobi Prosthetic arm, you can also find the Sculptor and Emma at the Dilapidated Temple which acts a hub. Remember to take rest a the Sculptor’s Idol before continuing your journey.
You can also take advantage of Hanbei the Undying as he will make the perfect “Training Dummy” to test out your moves, don’t worry he doesn’t mind.
For more details about this area and for a walkthrough check out the Dilapidated Temple wiki page.

Ashina Outskirts
The next place to visit is the Ashina Outskirts, here you will find materials needed to craft and equip your Loaded Shuriken. Here you will also need to defeat another mini-boss General Naomori Kawarada which will gain you an upgrade for your Healing Gourd. Before leaving the area be sure to talk to Inosuke Nogami’s Mother to receive the Young Lord’s Bell Charm as this will be needed for your next location the Hirata Estate.
After finding these materials and defeating the mini-boss General Naomori Kawarada you will need to head back to the Dilapidated Temple in order to craft the Shuriken and upgrade your Healing Gourd.
For more details about this area and for a walkthrough check out the Ashina Outskirts wiki page.
Hirata Estate
In this area you will learn more about the story by talking to an NPC who will give you the option to ask events have taken place. This area will grant you access to the Flame Vent, which will be helpful in fighting the mini-boss in the Ashina Outskirts. Don’t miss out on the Treasure Carps and Treasure Carp Scape merchant as they will have two Prosthetic Tools.
For more details about this area and for a the Game Progress Route and for a more detailed walkthrough visit the Hirata Estate wiki page.
Ashina Outskirts
After visiting the Hirata Estate you will encounter the Ashina Outskirts once again. Equipping the Flame Vent, you’ll have what you need in taking down the Chained Ogre mini-boss that lives in these parts.
Further enemies await as you make your way past the Great Serpent and go against Gyoubu Oniwa. Consuming the boss memory will increase your Attack Power so this is not to be missed.
There is a further mini-boss beat here Shinobi Hunter Enshin of Misen which will gain you another Prayer Bead if you defeat them.
For more details about this area and for a walkthrough check out the Ashina Outskirts wiki page.

Hirata Estate
Your next location will be back to the Hirata Estate, here you can collect the Bamboo Thicket Slope idol and then continue to meet The Owl who will give you the Hidden Temple Key. Two more items to claim are from Juzou the Drunkard, after defeating him you will gain Unrefined Sake and a Prayer Bead. Lastly you will fight against the agile boss of this area, the Lady Butterfly.
For more tips and for a walkthrough check out the Hirata Estate wiki page.

Ashina Castle
After defeating the Lady Butterfly you will go onto Ashina Castle which means killing further foes and returning to complete the Tengu of Ashina quest. This will unlock the Ashina Arts skill line.
The next enemy you will encounter is the fearsome Blazing Bull which drop you the Ashina Castle Sculptor’s Idol. From here use your grapple to travel to the enemy opposite, take them out to gain the Gatehouse Key.
For more tips and for a walkthrough check out the Ashina Castle wiki page.
Ashina Reservoir Revisited
After locating the gatehouse, use the Gatehouse Key obtained from Ashina Castle, to gain the Gyoubu’s Broken Horn and unlock the Loaded Spear which is a Prosthetic Tool.
Here you face the mini-boss Seven Ashina Spears and receive a Prayer Bead. Don’t miss out on the Bundled Jizo Statue which is found behind the Moon-View tower.
There are further items to collect here which you can check them out in our Game Progress Route.
Ashina Castle
You will return to Ashina Castle to fight General Kuranosuke Matsumoto who will use similar attacks as other Generals you will encounter. You will also need to rescue Fujioka the Info Broker who is trapped by an enemy below him. Defeat the enemy to gain access to Fujioka and proceed to speak to with him to gain the Nighjar Beacon Memo. After this he will be accessible as a vendor at the Dilapidated Temple.
Here you can also obtain the Antechamber Idol and Sabimaru. There are other enemies to defeat including Ashina Elite – Jinusuke Saze and then Genichiro Ashina.
After defeating Genichiro, talk to Kuro, the Divine Heir who will send you in the direction of Isshin Ashina, talk to him once more and take the Gun Fort Shrine Key located at Kuro’s feet.
For more tips and for a walkthrough check out the Ashina Castle wiki page.
Abandoned Dungeon
Your path will then take you to the Abandoned Dungeon, here you will speak to Doujon. After this, drop down and find a passage which will leave you to the Shichimen Warrior.
For more tips and for a walkthrough check out the Abandoned Dungeon wiki page.

Senpou Temple MT. Kongo
The temple will provide you with a fair few things to do, start of the area by talking to the Monk NPC who will set you the task of bringing him a “white flower”. To gain another Gourd Seed head to the room of monks with crickets.
Defeat the Long Arm Centipede Sen-Un who will reward you with a Prayer Bead and Yellow Gunpowder once taken down. There is also a Senpou Esoteric Text to pick up, before facing the Folding Screen Monkeys. Don’t leave the area before speaking to the Divine Child of Rejuvenation in the Inner Sanctum to acquire the Mortal Blade.
For more tips and for a walkthrough check out the Senpou Temple, Mt. Kongo wiki page.
Ashina Castle
After picking up the Mortal Blade port back to the top of the Ashina Castle and continue to drop down from the roof to the moat. Using your grappling hook, make your way through a few enemies and proceed to cross the bridge.
Here you will use the Gun Fort Shrine Key which you picked up near Kuro to unlock the shrine, then speak to Tengu of Ashina.
For more tips and for a walkthrough check out the Ashina Castle wiki page.
Sunken Valley
The Sunken Valley provides players with two foes to defeat, the mini-boss Snake Eyes Sirafuji and the Long-arm Centipede Giraffe. You can make your way past the Great Serpent by using the rock as cover.
For more items to gain from this area visit our Game Progress Route.

Sunken Valley Passage
After leaving the Sunken Valley you will take the passage that leads to an Old Hag who has the Bodhisattva Valley Idol. If you give her Rice she will tell you how to get past the Great Serpent.
Here you will face the Guardian Ape and once again face the Great Serpent, using the knowledge you gained from the Old Hag.
There are plenty of items to pick up here, here to our Game Progress Route wiki page for all the lootable items. You also visit the Sunken Valley Passage. for a complete walkthrough of the area.
Ashina Depths
In the Ashina Depths you will need to defeat a number of enemies, including the Snake Eyes Shirahagi, Headless Ape, Tokujiro the Glutton, Mist Noble. There are two option foes to take on which include the Shichimen Warrior and Headless.
Check out our Game Progress Route for more tips and steps.
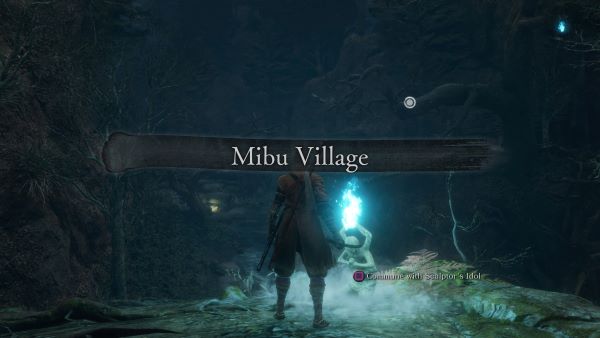
Mibu Village
In Mibu Village, players will encounter two enemies, an option foe O’rin of the Water and the ferocious Corrupted Monk. You can also speak to Jinzaemon Kumano which is an option step depending on your quest as well as look the Shelter Stone.
Check out our Game Progress Route for more tips and steps.
Ashina Castle
Once more you’ll visit Ashina Castle (if all goes well) to kill the Lone Shadow Vilehand and Great Shinobi Owl. Here you can create incense and defeat the Chained Ogre to continue your path.
Check out our Game Progress Route for more tips and steps.

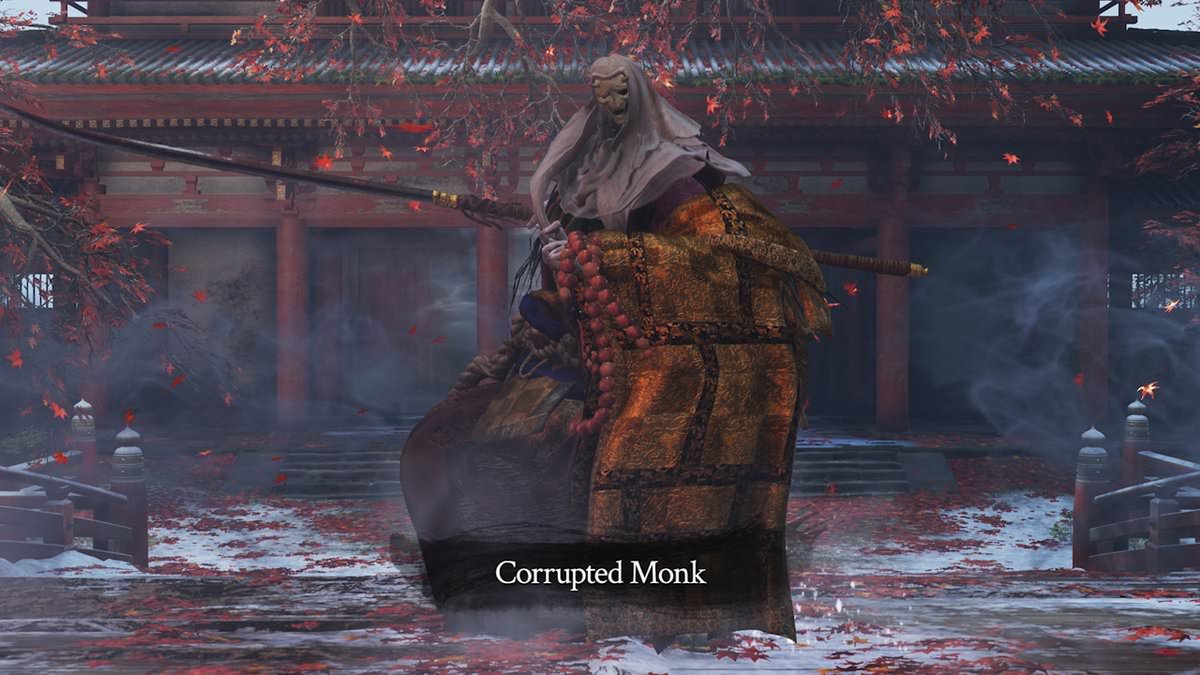
Fountainhead Palace
The final area is the Fountainhead Palace, here you will face Corrupted Monk. You can also take on some optional enemies which include the Sakura, Bull of the Palace, Headless, Shichimen Warrior and the Great Colored Carp. You will then face off with the Old Dragons of the Tree and finally the Divine Dragon.
Check out our Game Progress Route for more tips and steps.
As mentioned in the beginning of this article there are multiple endings, so depending on which you aim for, you may need to carry out certain quests. Visit the endings section of our Sekiro Shadows Die Twice wiki for more help with this.
If you enjoyed this Sekiro content be sure to check out what we thought about the game in our Sekiro Review: Shinobis Die Many Times. Find out everything you need to know about game length, replayability and difficulty. You can also check out our guides in Sekiro: Shadows Die Twice Beginner Guide and Sekiro Stealth Guide: How To Be A Better Shinobi. If you want to see the game live in action be sure to tune into our Twitch channel.
The post How to Not Get Lost in Sekiro appeared first on Fextralife.
from Fextralife https://ift.tt/2TXfjOV
Yuria https://ift.tt/2U2Cg31 March 27, 2019 at 03:32PM https://fextralife.com
No comments:
Post a Comment